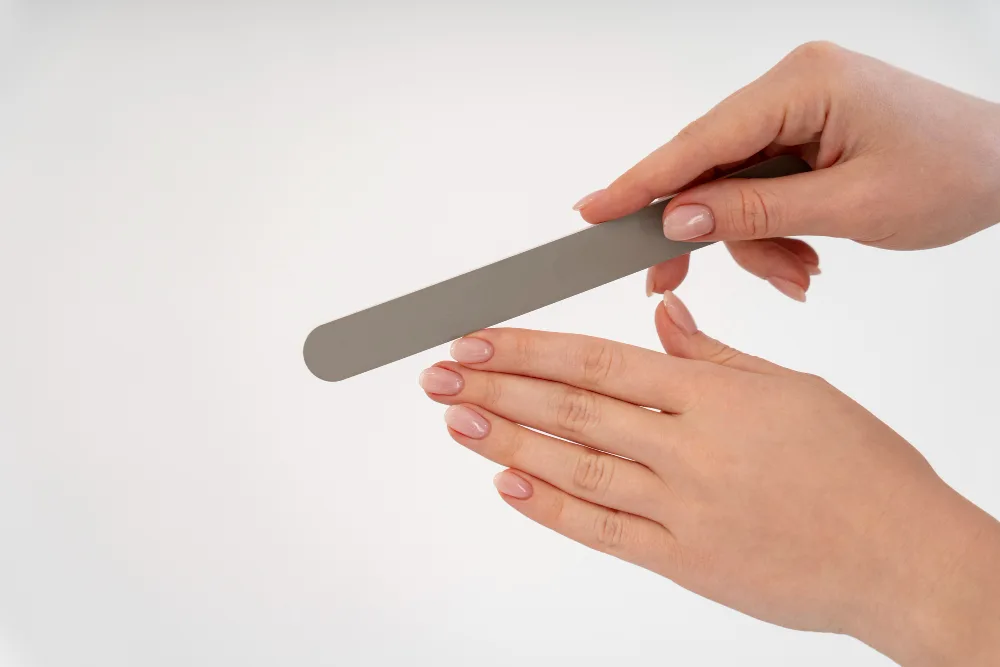
Ever admired salon-perfect nails and yearned for that flawless finish? Pushing back your cuticles is a key step, but it can be an intimidating one. Worry not, nail enthusiasts! Dr. Emma Williams, senior director at Path Outline, is here to guide you through the world of cuticle pushers, turning you into a confident cuticle connoisseur.
What is a cuticle pusher, and why should you care?
Imagine your cuticles as the little guardians of your nail bed, protecting it from bacteria and other nasties. While necessary, overgrown cuticles can encroach on your nail plate, making your nails appear shorter and neater. A cuticle pusher gently nudges these cuticles back, revealing more nail surface and creating a polished, elongated look.
Metal Cuticle Pusher vs. Wooden Cuticle Pusher
Two main contenders dominate the cuticle pusher arena: metal and wood. Each has its advantages and may suit your preferences differently:
Metal Cuticle Pusher:
- Pros: Sturdy, precise, easy to sanitize, durable, often has multiple functions like cleaning under nails.
- Cons: Can feel harsh on sensitive skin, risk of accidental nicks if not used with care.
Wooden Cuticle Pusher:
- Pros: Gentle on skin, less risk of injury, environmentally friendly, readily available.
- Cons: May not be as effective for thick cuticles, less durable than metal, requires more frequent sanitizing.
The Ultimate Question: “Should You Push Your Cuticles Back?”
While pushing back cuticles is a popular manicure technique, it’s not for everyone. Here’s a quick guide to help you decide:
- Push away: If your cuticles are dry, flaky, or extend significantly onto your nail plate, pushing them back can improve the appearance and health of your nails.
- Leave alone: If your cuticles are thin, delicate, or prone to irritation, gently trimming the excess with nail clippers might be a safer option.
Mastering the Art of Pushing Back Cuticles: A Step-by-Step Guide
Now, for the exciting part: transforming your nails with proper cuticle pushing technique!
Here’s what you’ll need:
- Cuticle pusher (your choice of metal or wood)
- Cuticle remover or softening oil
- Bowl of warm water
- Nail towel
- Nail clippers (optional)
Let’s get started:
- Prep Time: Soak your fingertips in warm water with a few drops of cuticle remover or oil for 5-10 minutes. This softens the cuticles, making them easier to push back without risk of damage.
- Drying Off: Gently pat your fingers dry with a clean nail towel. Leave your cuticles slightly damp.
- Pushing with Precision: Hold the cuticle pusher at a 45-degree angle to your nail. If using the rounded end, gently glide it under the cuticle, pushing it back towards the base of your nail. If using the pointed end, use it carefully to remove any dead skin from the corners of your nails.
- Repeat and Refine: Work on each nail individually, applying gentle pressure and avoiding any pain. Trim any stubborn bits of cuticle with nail clippers (optional).
- Moisturize and Maintain: Apply cuticle oil and gently massage it into your cuticles to keep them hydrated and healthy. Repeat this process every 1-2 weeks for optimal results.
Bonus Tips for Cuticle Care Champions:
- Sanitize, Sanitize, Sanitize: Always clean your cuticle pusher with rubbing alcohol before and after use to prevent the spread of bacteria.
- Be Gentle, Not Brutal: Pushing too hard can damage the delicate skin around your nails and lead to pain and inflammation.
- Listen to Your Body: If you experience any redness, swelling, or discomfort, stop pushing and consult a dermatologist.
- Moisturize Regularly: Regularly applying cuticle oil keeps your cuticles soft and supple, making them easier to manage and less prone to dryness.
From “Pusher Cuticle” Beginner to Master:
With these tips and a little practice, you’ll be pushing back your cuticles like a pro in no time. Remember, consistency and gentle care are key. So, embrace the power of the cuticle pusher, enjoy your newfound nail confidence, and flaunt those gorgeous fingertips!


